Area & Visual Map Management (E-Map)
The Zone Management (Area) module provides an intuitive security monitoring center (E-Map). Instead of reading raw data rows, you can upload the actual floor plan of your building, place Doors, Cameras and Alarms directly onto the map, and then monitor and control devices on a 2D spatial platform.
1. Workspace Overview
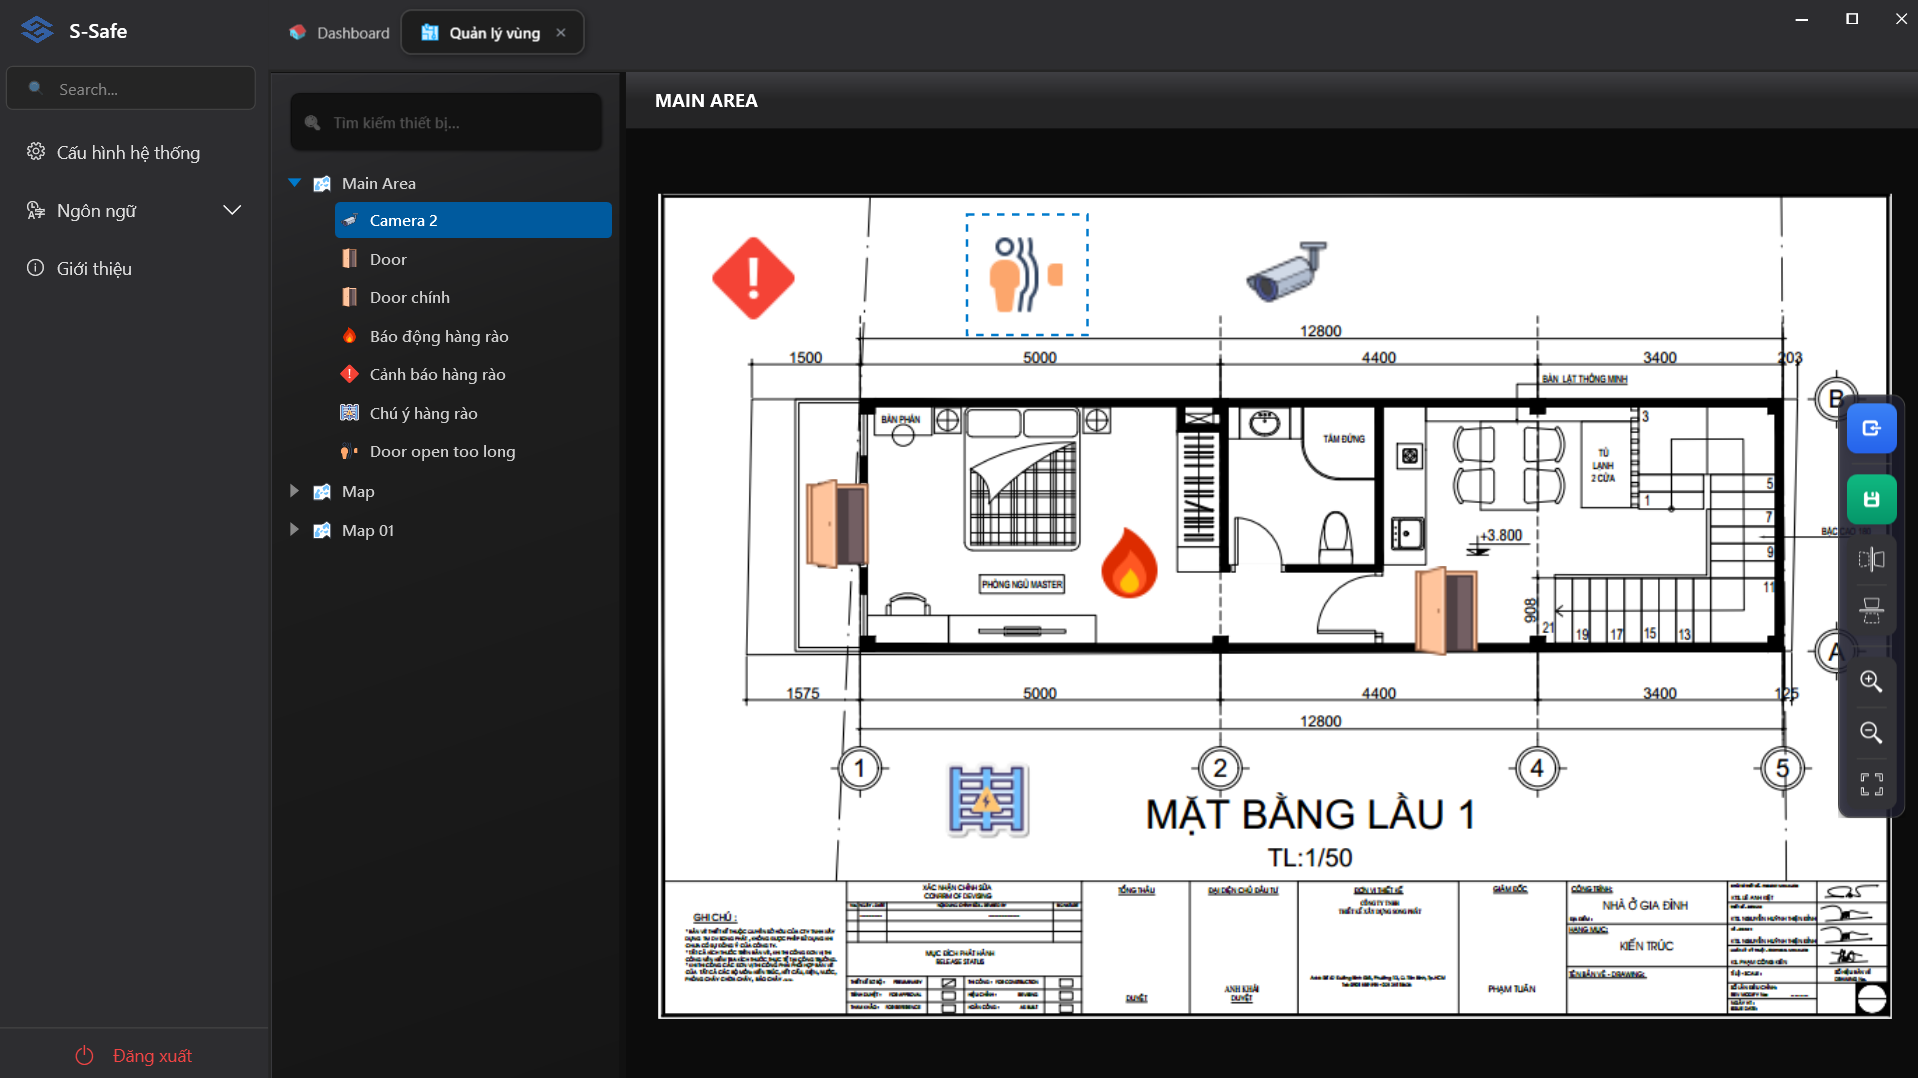
The E-Map interface is designed for optimal use of space and is divided into 3 main areas:
- Left Column (Treeview): A hierarchical folder tree for managing Zones (Areas) and the list of devices (Cameras, Doors, Alarms) belonging to each zone. Includes an integrated quick-search bar.
- Central Area (Map Canvas): Displays the floor plan. You can Drag & Drop devices from the left-side folder tree directly onto the map. Hovering over a device icon on the map will automatically display its detailed information.
- Right Toolbar: Contains map control tools including:
- Save configuration (Save).
- Icon flip tool (Flip) — only visible when a device icon is selected.
- Import/Edit map.
- Zoom In / Zoom Out.
- Fullscreen mode.
2. Working with the Treeview
The system supports an intelligent context menu (Right-click) directly on the folder tree:
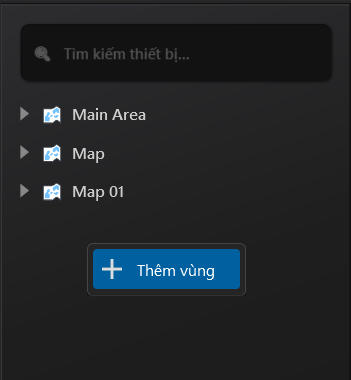
- Right-click on empty space: Quickly create a brand new Zone.
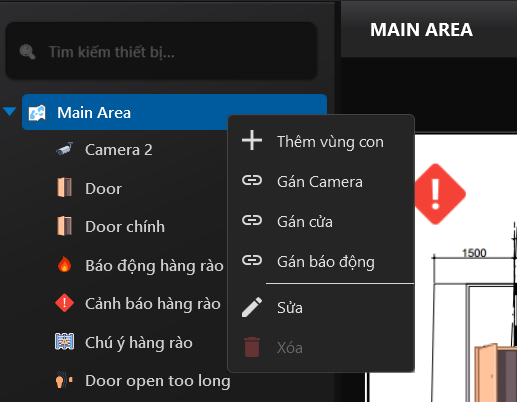
- Right-click on a specific Zone: Displays a function menu to Add Sub-Zone, Assign Camera, Assign Door, Assign Alarm, or Edit/Delete the zone.
- Right-Click Actions on Devices:
Right-clicking a device object in the list displays a quick-action menu specific to the device type:
- For Doors:
- Open Door: Immediately triggers a remote command to open the door without requiring a card swipe.
- Edit: Opens the configuration dialog to modify door details.
- Delete (Red): Removes the door from the management list and the map.
- For Doors:
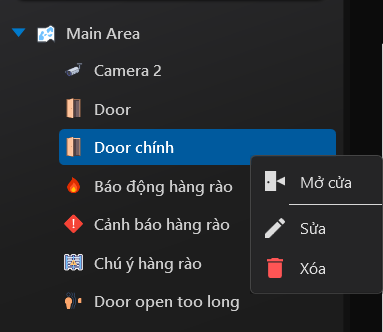
- For Cameras:
- Edit: Open the configuration dialog to edit the camera.
- Delete (Red): Remove the camera from the map system.
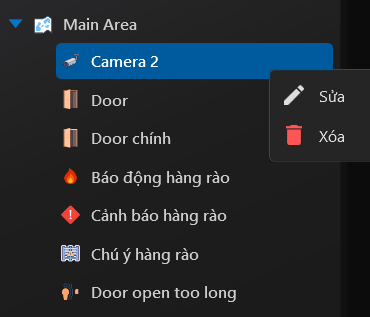
- For Alarms:
- Edit: Change the icon for the alert displayed on the map.
- Delete (Red): Remove the alarm from the map system.
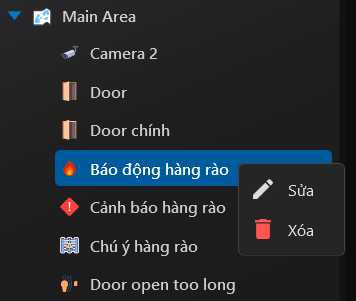
3. Direct Interaction on the Map Canvas
The map area allows you to fine-tune device positions to best match the actual physical installation:
Left-Click Actions (UI Customization)
When you left-click on a device icon on the map, a dashed selection box will appear around it:
- Drag the corners to resize the icon (zoom in/out).
- Hold and drag the top anchor point to rotate 360° to match the actual door orientation.
- The right Toolbar will then display an additional Flip tool cluster to mirror the icon (Left/Right/Up/Down).
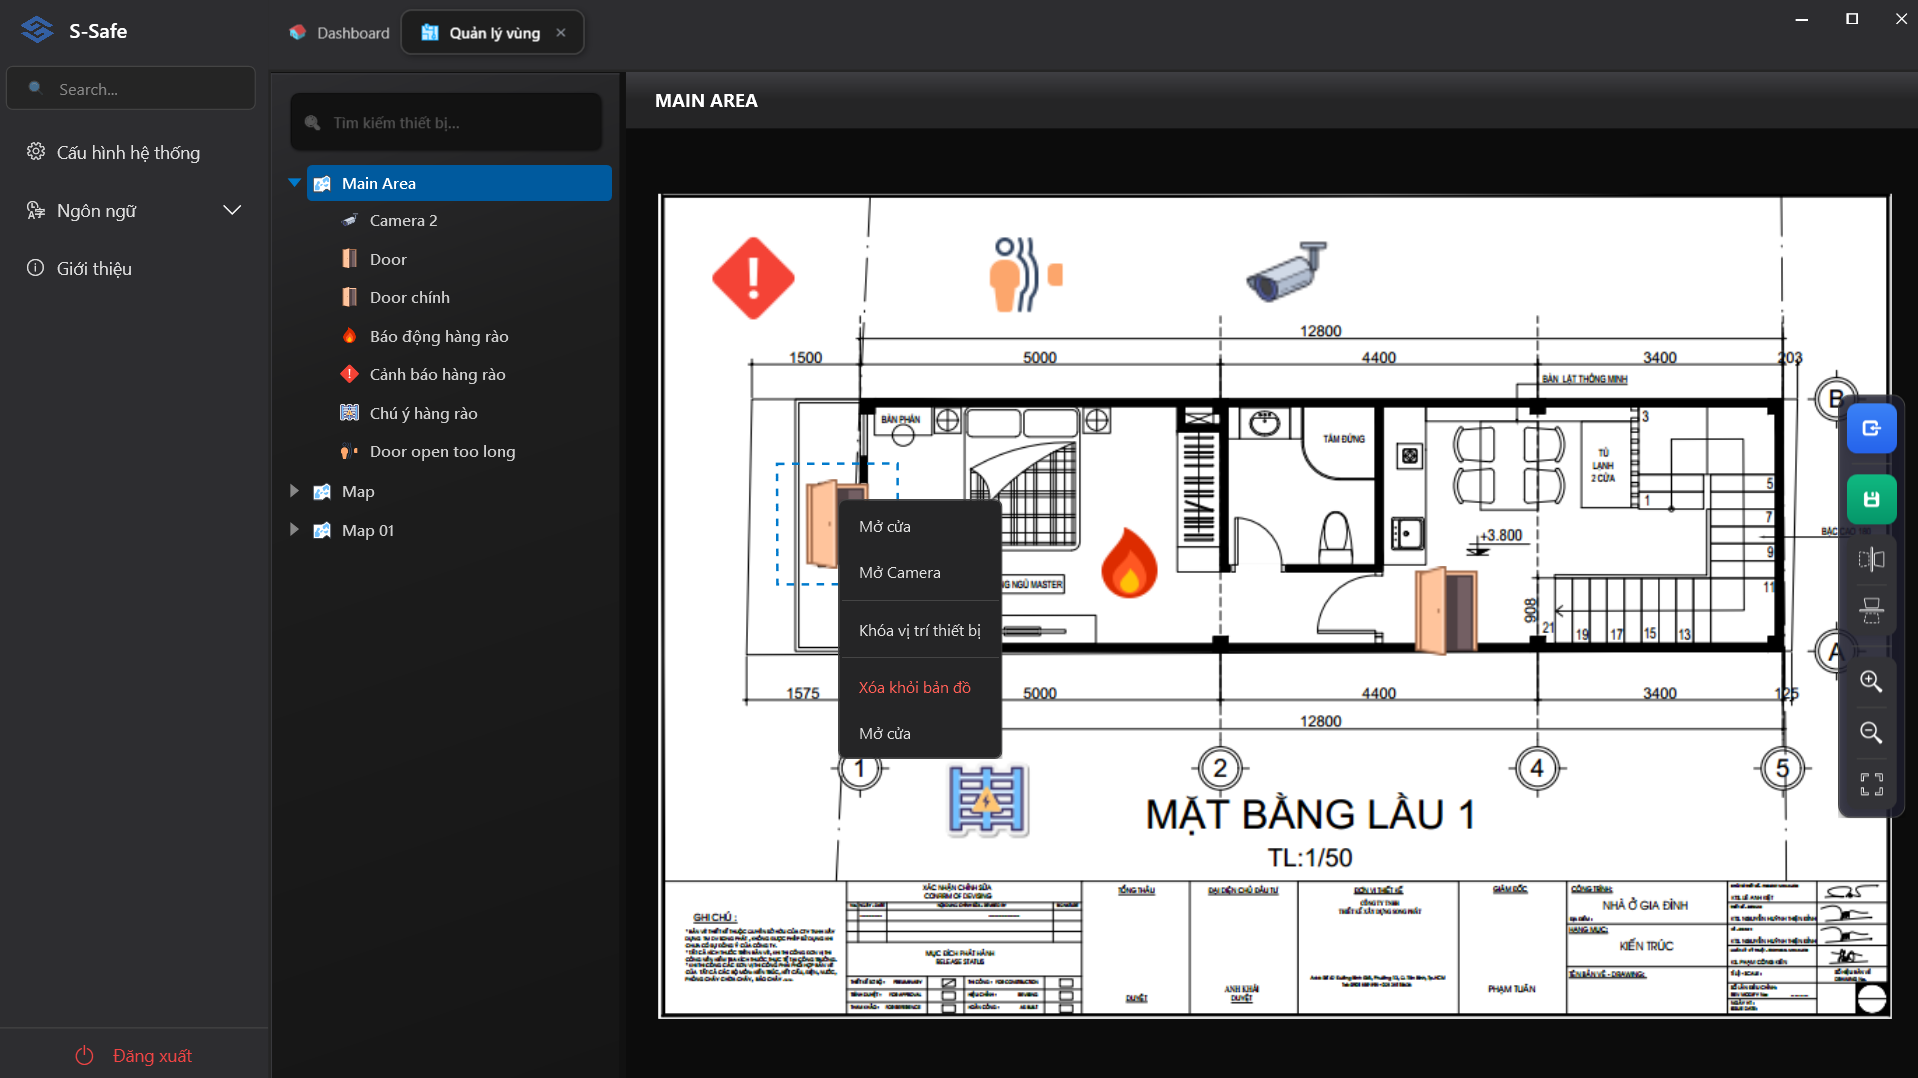
Right-Click Actions (Device Control)
Opens a hot-action menu for the device at that location:
- Unlock Door: Immediately activates the door relay to unlock it remotely.
- Open Camera: Triggers a pop-up displaying the live video stream from the surveillance camera in that area.
- Lock item position: Fixes the icon in place, preventing it from being moved, rotated, or flipped.
- Remove from Map: Removes the icon from the floor plan (the device still exists in the left-side Treeview).
4. Configuring a Zone and Uploading a Map
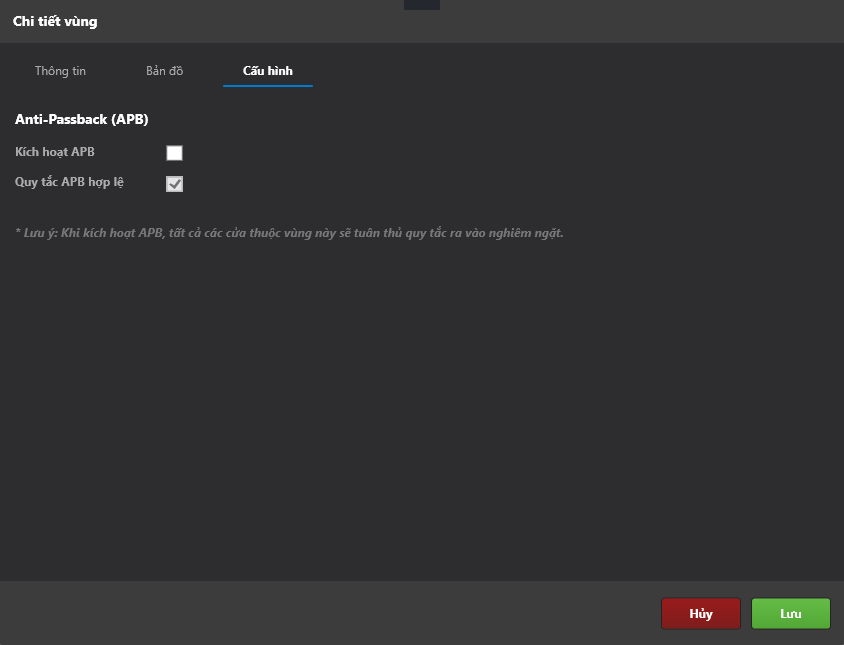
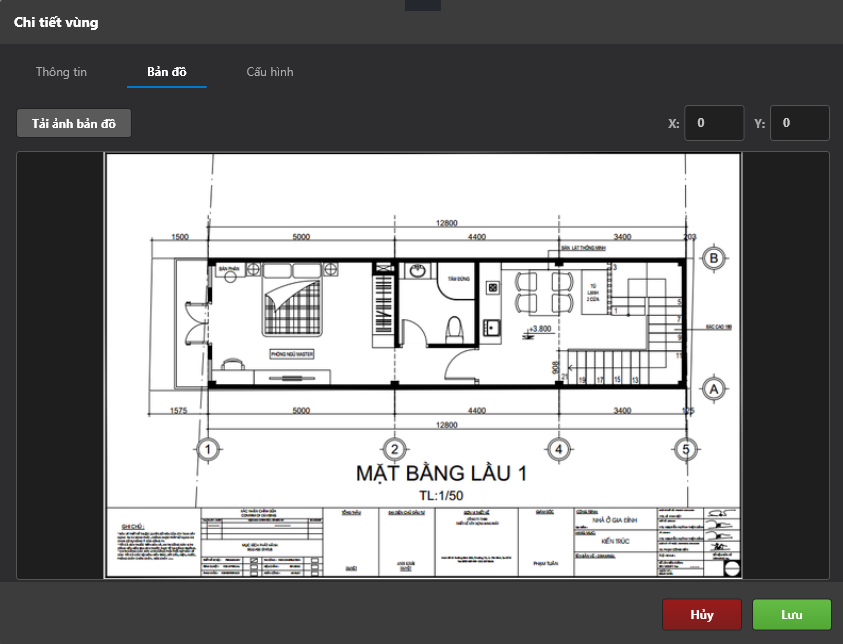
When you create a new zone or click the Import Map button on the Toolbar, the Zone Details dialog with 3 configuration tabs will appear:
Tab 1: Information
Used to declare basic identifying details:
- ID: The system's sequential identification number.
- Name (*): Enter a name for the area (e.g., Floor 1, Main Lobby, Server Room).

Tab 2: Map
Where physical space is digitized:
- Upload Map Image: Select a floor plan image file from your computer.
- X / Y Coordinates: Fine-tune the map's origin offset if necessary.
Tab 3: Configuration (Anti-Passback)
Advanced security features for the zone:
- Enable APB / Valid APB Rule: When this feature is enabled, the system enforces an anti-passback rule. Personnel must have a recorded "Entry swipe" event before they are permitted to perform an "Exit swipe." This feature effectively prevents a user from swiping their card to open a door and then passing the card back outside for another person to use.