S-Safe Installation Guide
Pre-Installation Checklist
Before proceeding with the S-Safe Server and Client installation, please verify and complete the items below to ensure a smooth and error-free setup process.
1. System Requirements & Environment
- Hardware Compatibility: Ensure that the server and client machines meet the minimum configuration requirements specified in the S-Safe System Requirements documentation.
- Admin Privileges: You must be logged into the operating system with an account that has Administrator privileges to proceed with the installation.
- Windows Update: It is recommended to run Windows Update to install all necessary platform libraries (such as .NET Framework 4.8 or C++ Redistributable).
- Power Plan: Set the server's power plan to High Performance and completely disable Sleep/Hibernate mode to prevent interruptions to the access control system's connectivity.
2. Network and Firewall Configuration
- Static IP: The S-Safe Server must be assigned a static IP address so that card readers and client workstations can always locate it.
- Port Forwarding: Ensure that the Windows Firewall or any antivirus software does not block the software's internal communication ports (e.g., the default SQL Server port
1433). - Ping Test: Confirm that client workstations can ping the server's static IP address without errors.
3. Database & Licensing
- SQL Server Account: If your organization already has an existing SQL Server instance, prepare the highest-level administrative credentials (username:
saand password). - SQL Browser Service: Ensure that the SQL Server Browser service under Windows Services is enabled and running.
- License: Have your activation key or license file provided by S-Safe ready to activate immediately after installation.
4. Installation Package
- Download the latest S-Safe installer and fully extract it to a folder on your hard drive (e.g.,
D:\SSafe Setup). - Note: Do not run setup.exe directly from within the compressed archive (.zip/.rar).
Installation Steps
- Right-click the
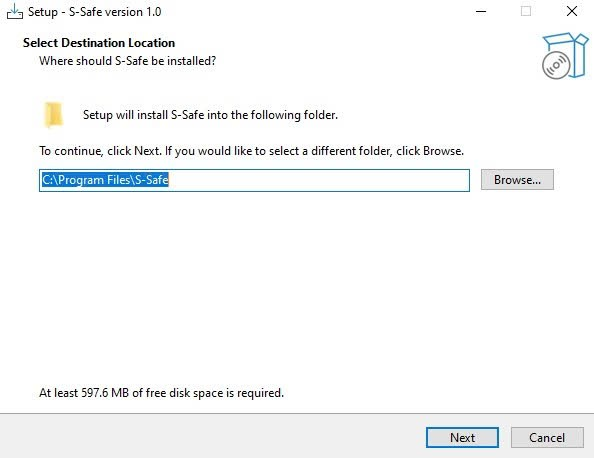
S-Safe Installer.exefile, select Run as administrator, and confirm to begin the installation. - Select the installation path for S-Safe, or click Next to let the system use the default path.
- On the database configuration screen:
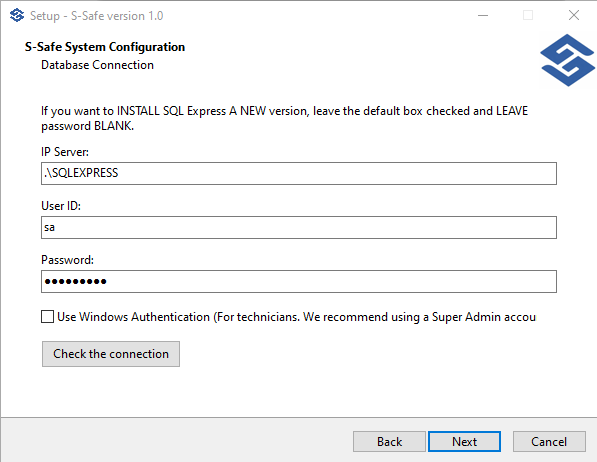
- If SQL Server is already installed on the machine: Enter the server IP and Super Admin credentials (or use Windows Authentication), then click Check Connection. Once the success message appears, click Next to continue.
- If SQL Server is not yet installed: The system will automatically install and configure the database.
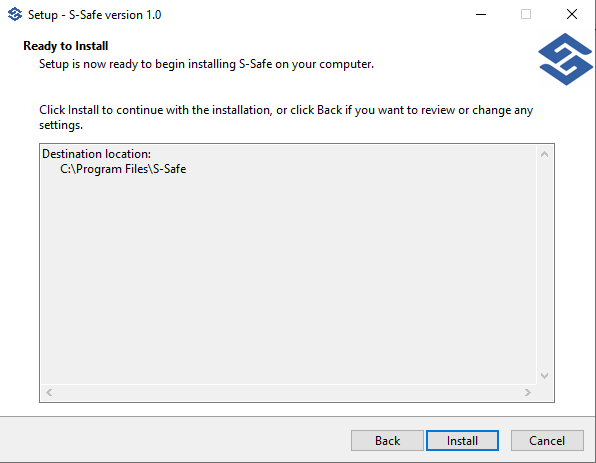
- Click Install to begin the system installation.
- Wait for the installation to complete, then click Finish to close the Setup Wizard.
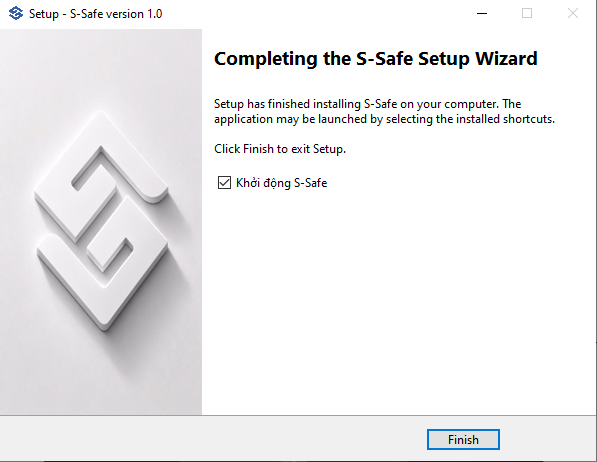
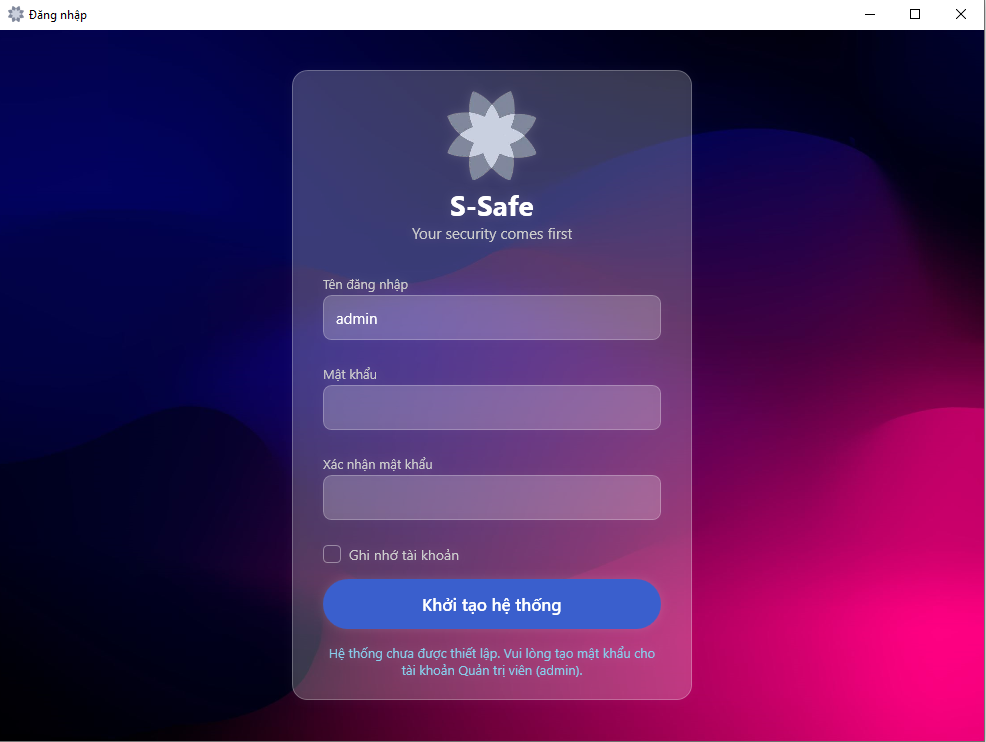
- After a successful installation, open the application. The system will display a registration dialog on first login to initialize the system.
- The default username is
admin. - Enter your new password and confirm it twice to complete the setup.
- The default username is
License Activation
After logging into the system for the first time, all features will be locked by default. You must activate a license to unlock all operational functions.
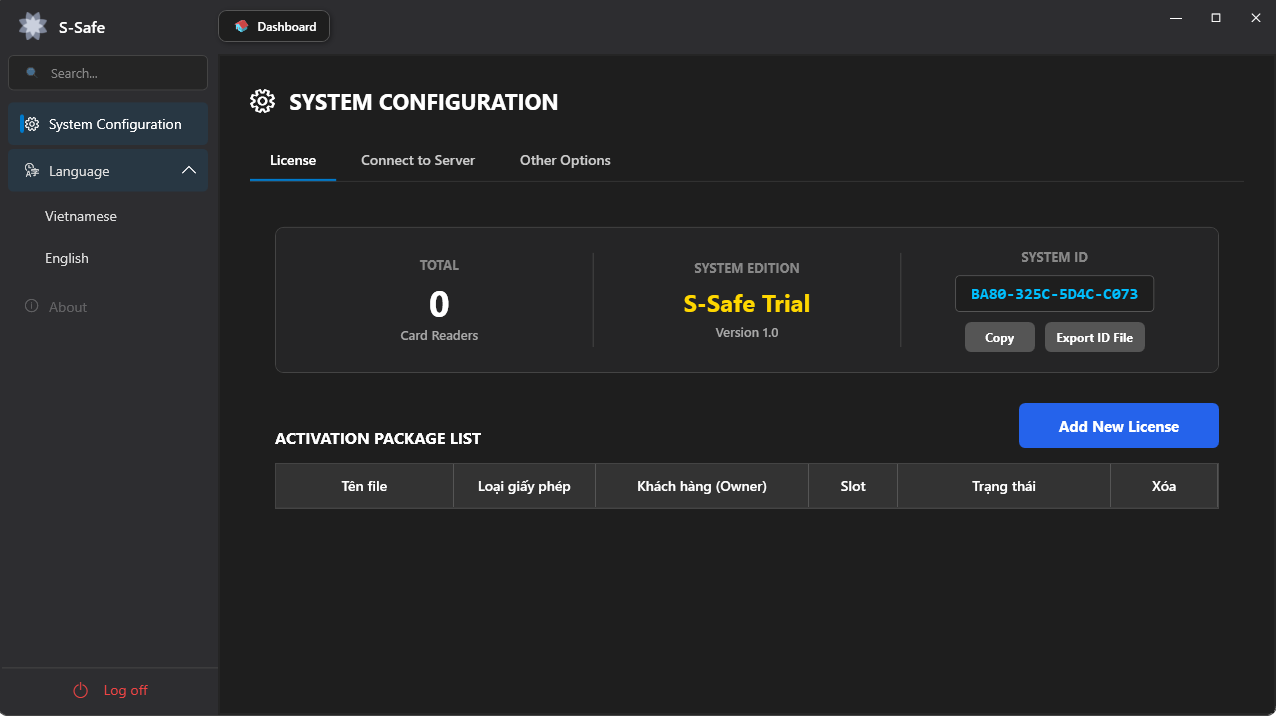
- Go to System Configuration, select Export ID file or click Copy, then send this information string to the SMT technical support team to receive the official license file.
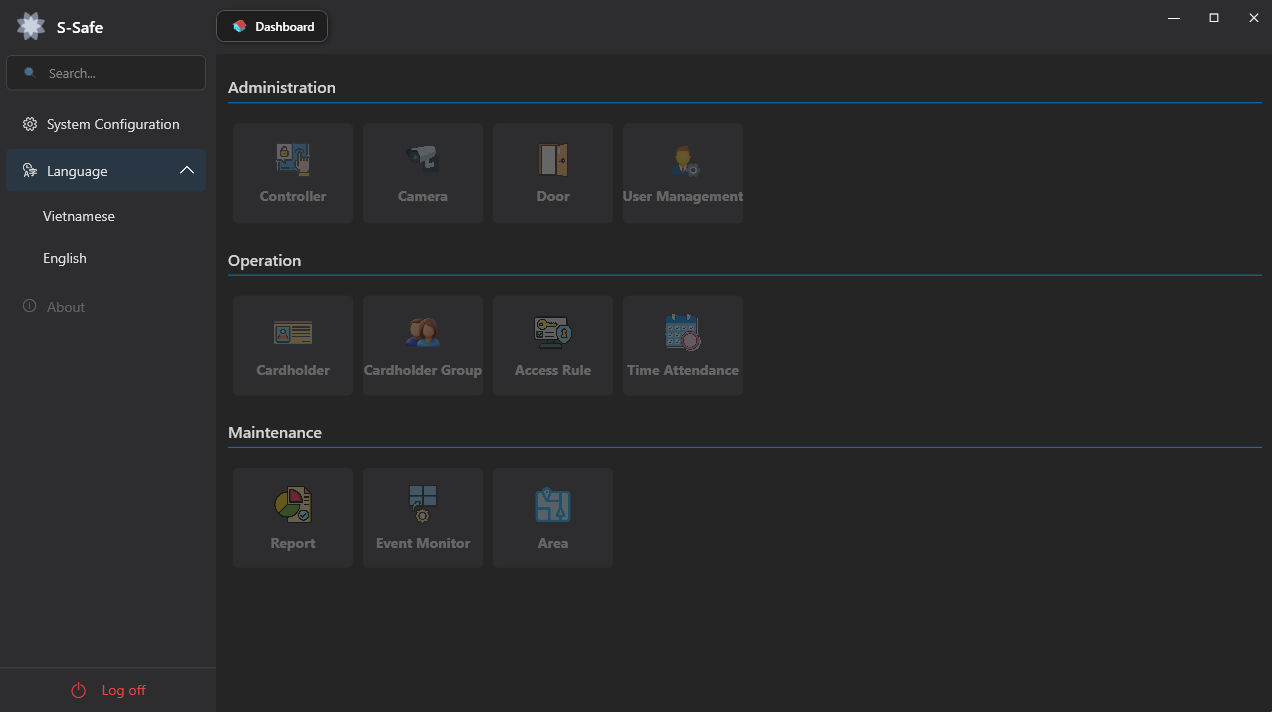
- Once you receive the license file from SMT, click Add New License in the application interface and upload the provided license file to activate the system.