Warning Center (Real-time Warning)
The Warning module is the live operations screen for security personnel. This interface consolidates all active incidents occurring at the facility, providing image data, floor map positioning, and quick-action command buttons to resolve incidents through a fixed status workflow.
1. The Chain Relationship: Automation | Alarm | Warning
The warning screen operates based on the combined output of the two preceding modules:
- Automation automatically detects hardware faults or restricted zone violations and fires the trigger command.
- Alarm provides the priority level configuration (display color) and the corresponding Standard Operating Procedure (SOP) steps for that incident.
- Warning receives both streams and visually displays them on screen, requiring security personnel to follow the correct checklist procedure and log their response actions.
2. Incident Workflow Through 3 States
The system manages and classifies alerts through 3 clearly defined workflow tabs in the left column:
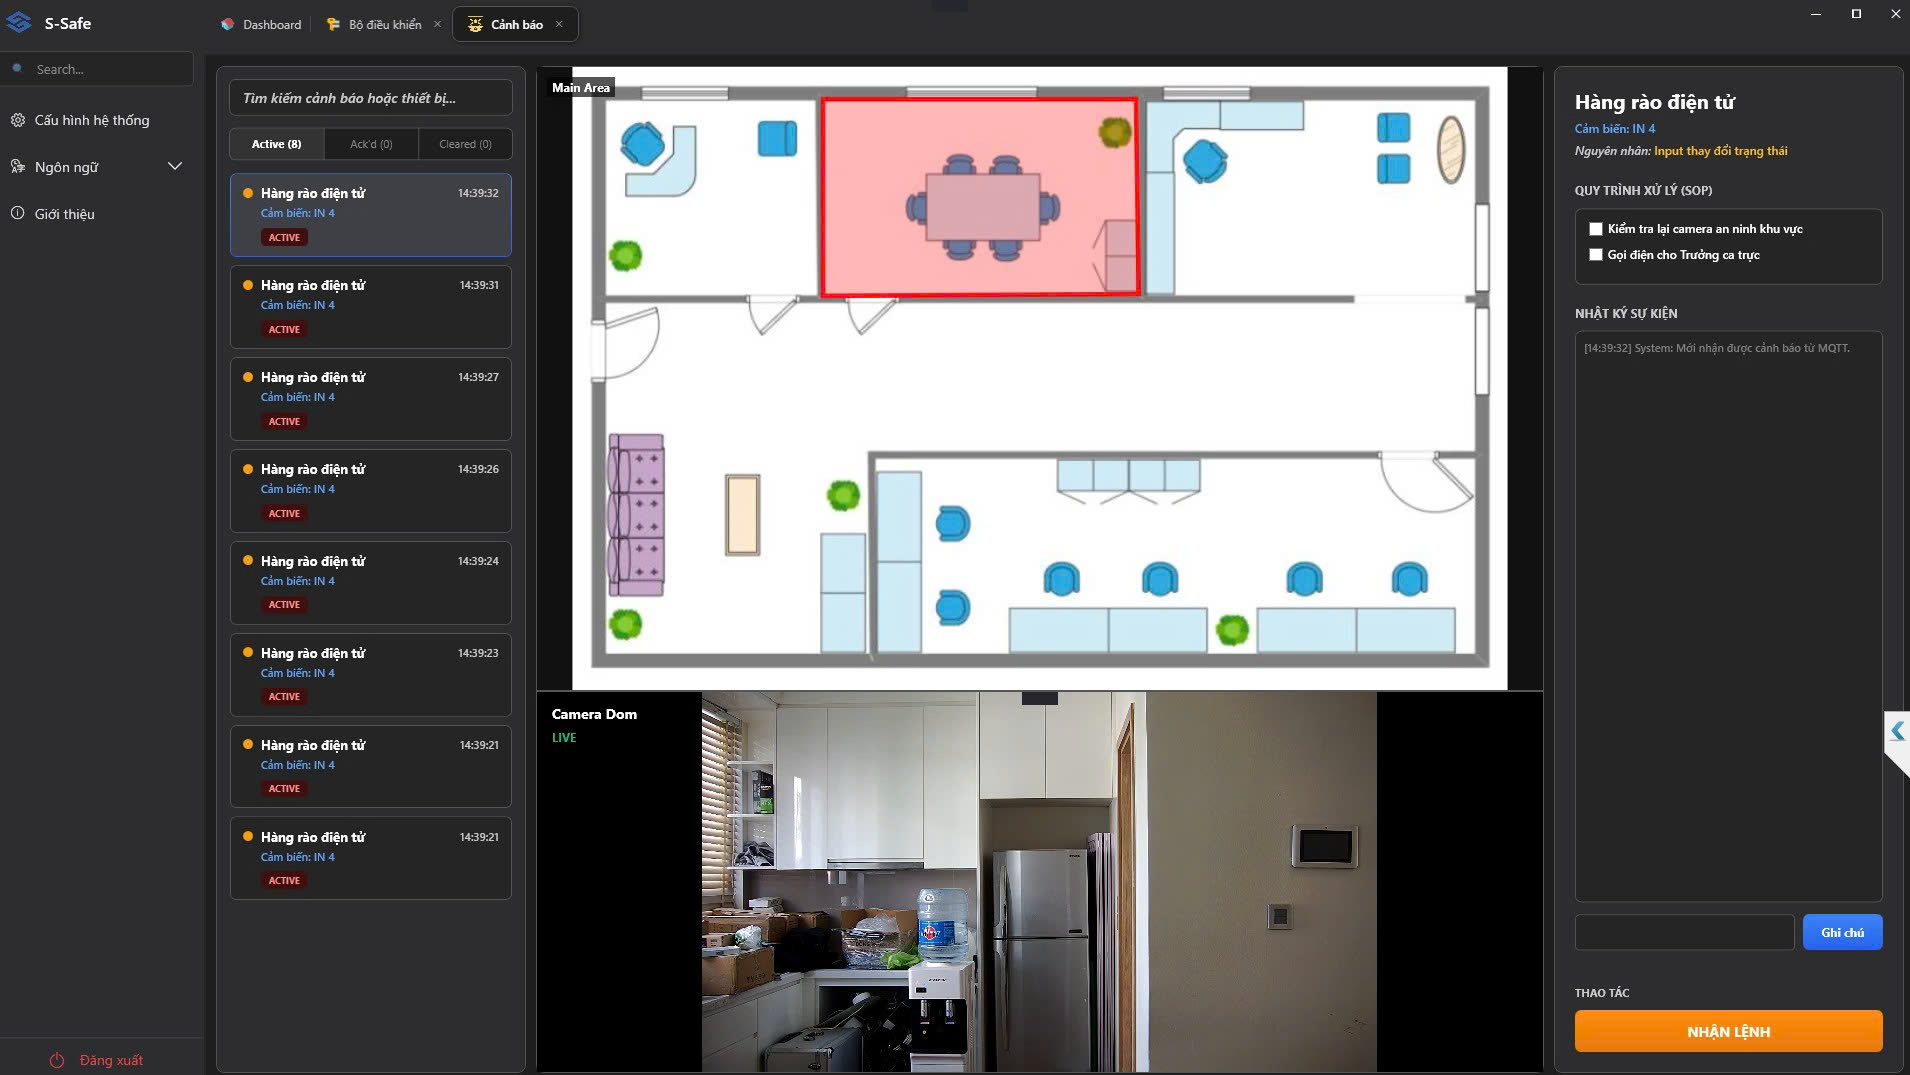
Tab 1: Active
Displays a list of newly triggered incidents that have not yet been acknowledged by any personnel. Events are labeled ACTIVE in red.
- Action: The on-duty officer reviews the details and clicks the ACKNOWLEDGE button (orange) in the top-right corner to move the incident into the processing state.
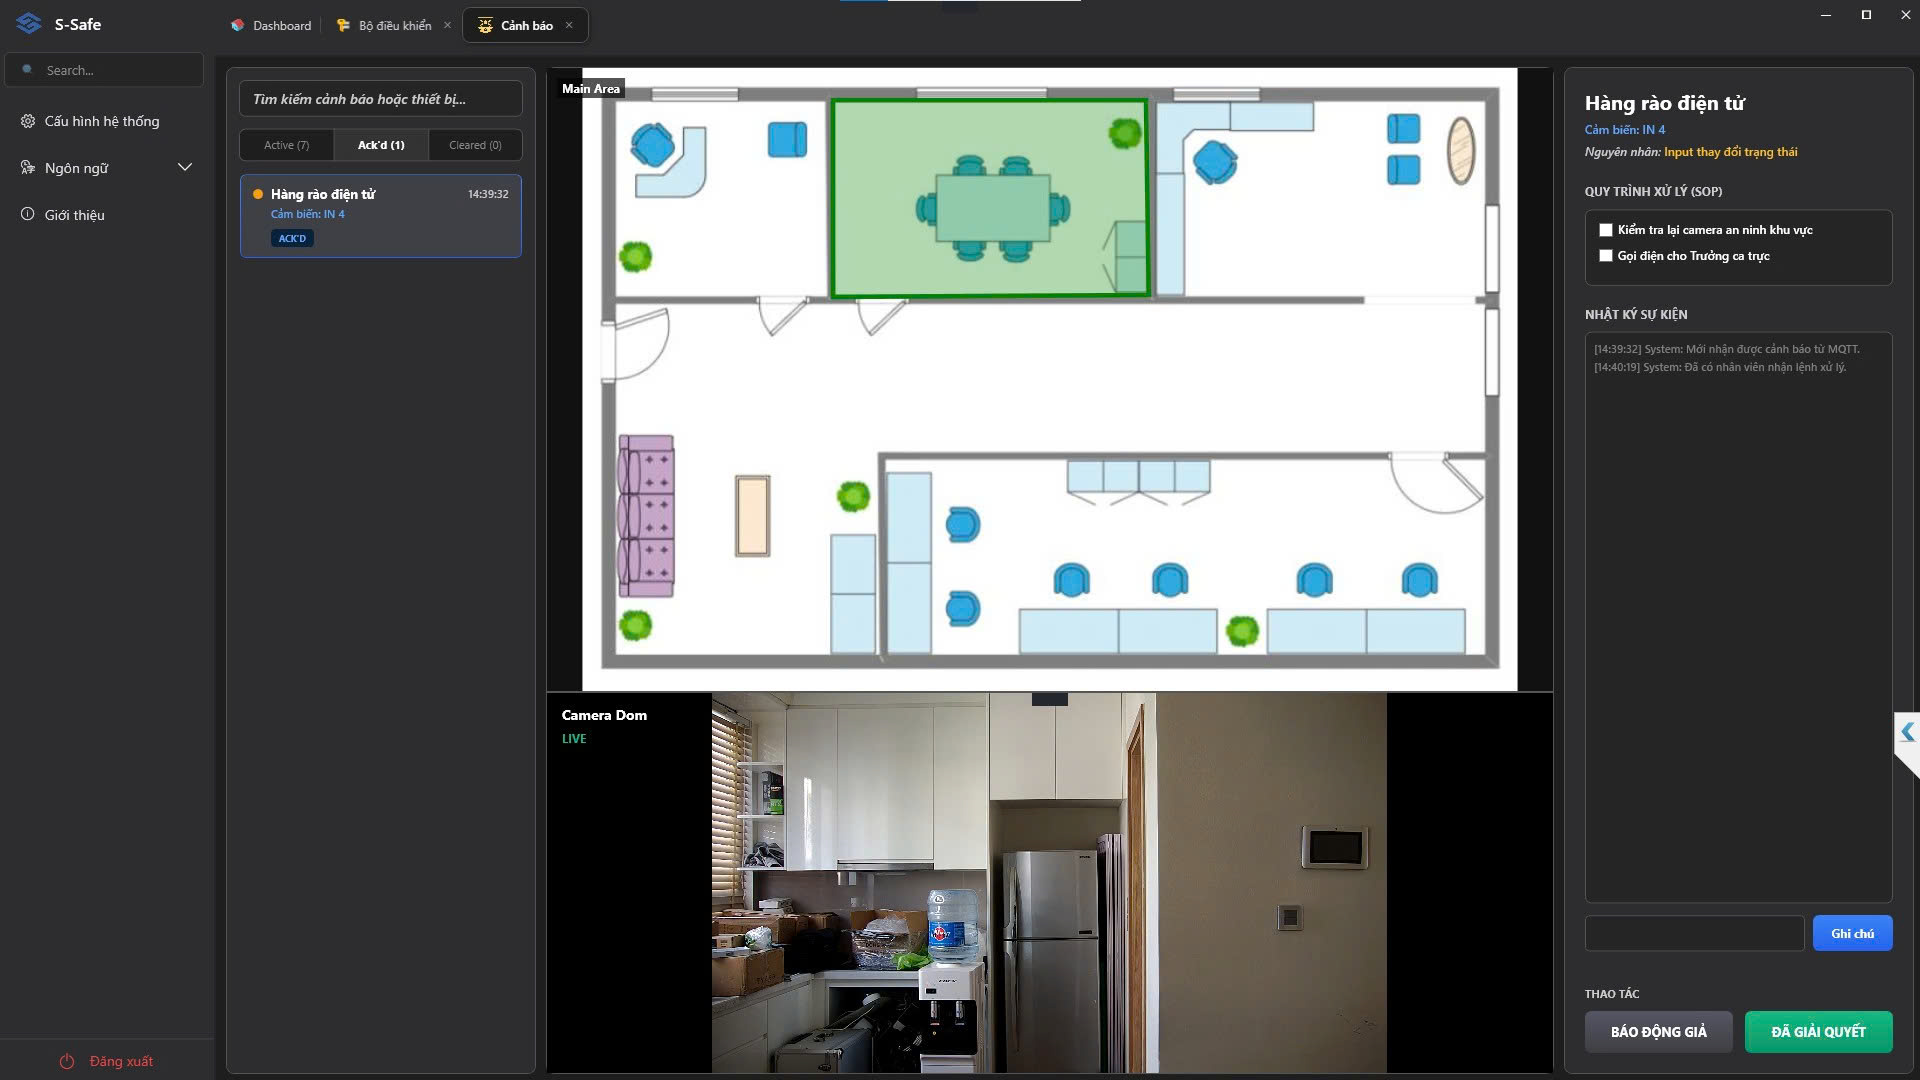
Tab 2: Acknowledged (Ack'd)
Displays incidents that have been acknowledged by an officer and are currently under field investigation. Events transition to the ACK'D label in blue.
- Action: After investigating on-site, the officer selects one of two action buttons at the bottom-right of the screen: FALSE ALARM (gray) or RESOLVED (green).
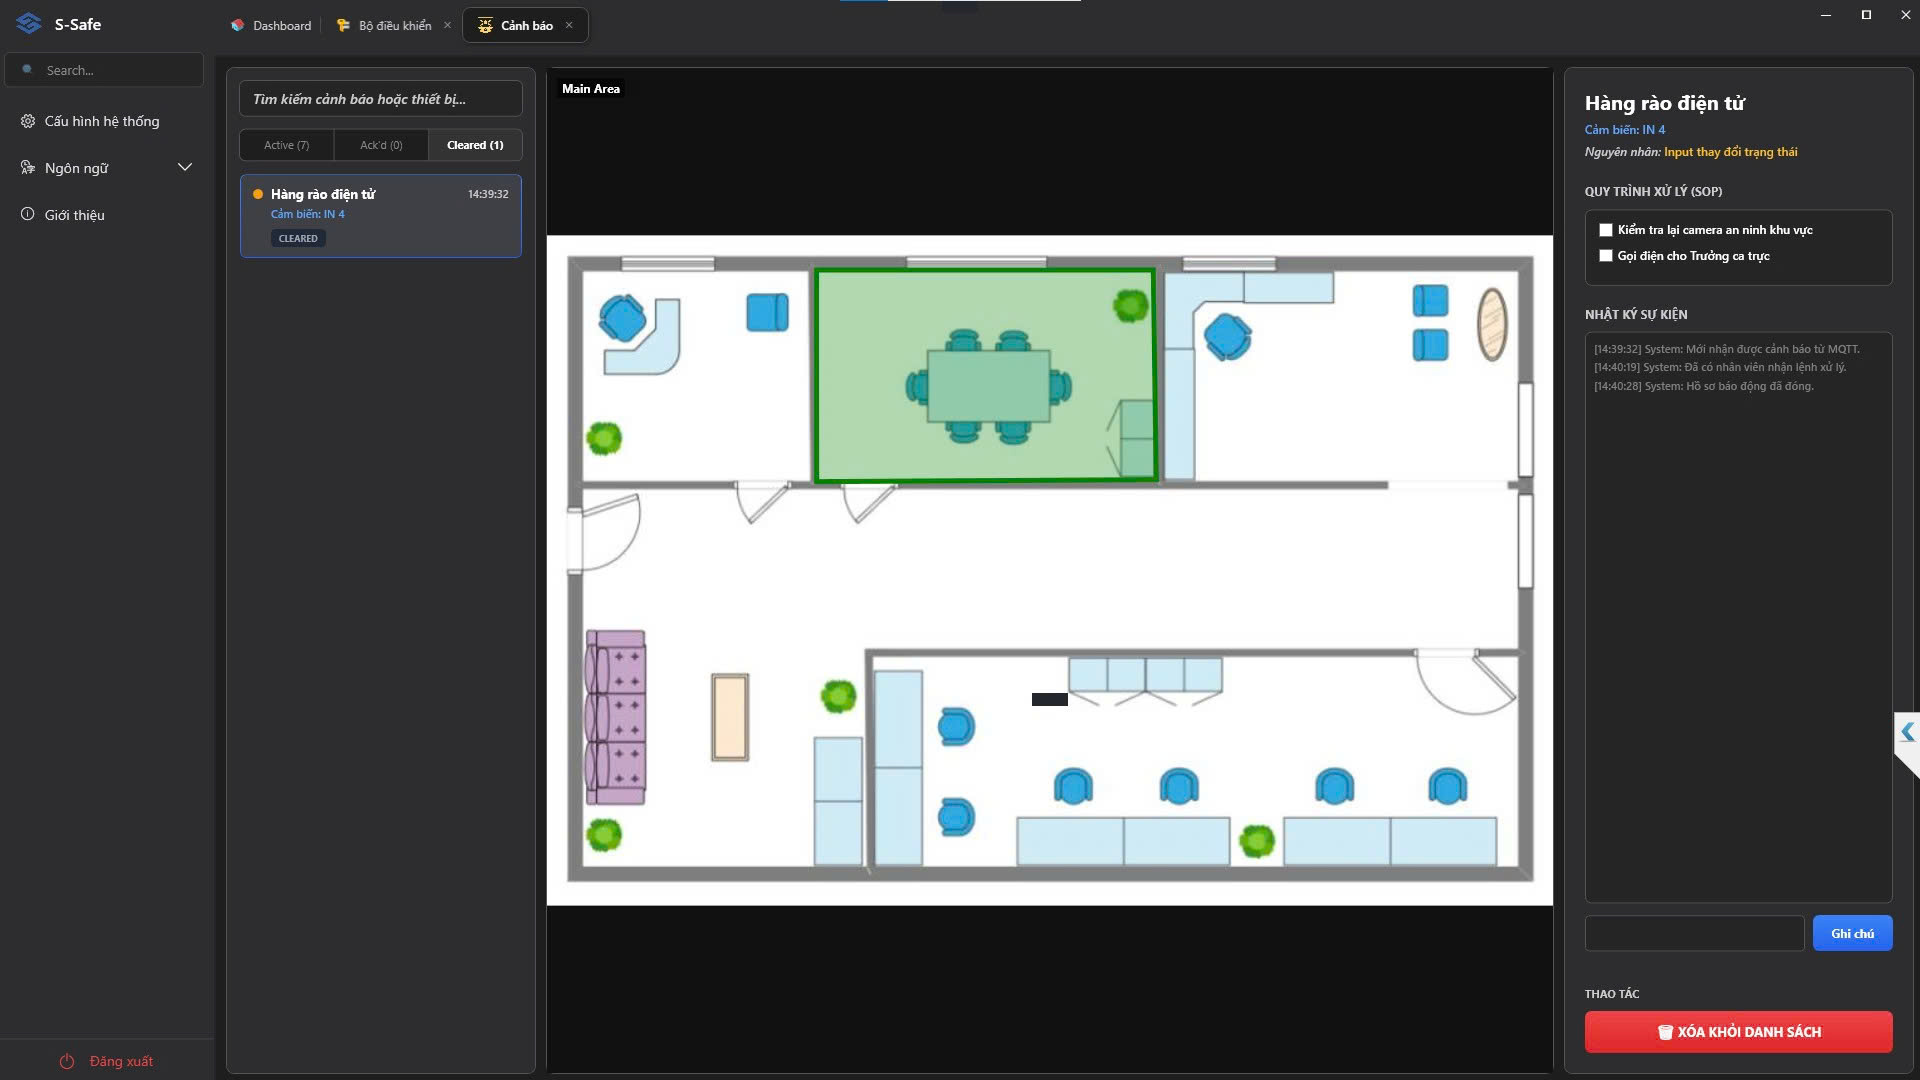
Tab 3: Cleared
Displays a list of incidents that have been fully resolved or confirmed as false alarms. Events carry the CLEARED label in gray.
- Action: Click the REMOVE FROM LIST button (red) to clean up the queue and archive the data to the historical reporting system.
3. Central Data Verification Area
When you select any alert from the list, the central area provides the following on-site verification information:
- Incident Location Map (E-Map): Displays the floor plan of the level.
- Blinking fence effect: If the incident originates from a geofence zone violation or electronic perimeter breach (Geofence Intrusion), the system will display a continuously blinking red border frame around the coordinates of that zone/fence on the floor plan, enabling rapid localization of the intrusion point.
- Surveillance camera: Live feed from the camera.
4. Action Toolbar & Response Log (SOP Panel)
The right-side column displays all incident attributes and the on-duty officer's response logging tools:
- Incident Information: Displays the Alert Name, the location of the faulty device, and the trigger cause (e.g., Geofence Intrusion).
- STANDARD OPERATING PROCEDURE (SOP): Displays mandatory checkbox tasks (Checklist) that the security guard must complete, pre-configured in the Alarm module.
- EVENT LOG: A dialog displaying the system's automated progress timeline (timestamps for when the alert was recorded, when an officer acknowledged it, and when it was resolved). Users can also type additional manual notes into the Notes field to save with the incident report.